

Webpack is a module bundler that primarily bundles JavaScript files. It can also transform and bundle assets such as CSS, images, and fonts if the necessary loaders and plugins are present. However, as of writing, there is no tutorial in the Webpack docs for configuring Webpack with Tailwind CSS. This makes using Tailwind CSS when bundling files with Webpack somewhat difficult.
In this tutorial, I'll teach you how to integrate Tailwind CSS with Webpack.
Steps to take to integrate Tailwind CSS with Webpack
Create package.json
Run the command shown below in the terminal once you are in the project's directory to create the package.json file.
npm init -y
Create the src folder
Create the src folder in the root directory, then add an empty index.js file to it. This will include the code as well as any JavaScript modules that Webpack will compile.
Install Webpack and Loaders
npm i -D webpack webpack-cli webpack-dev-server style-loader css-loader postcss postcss-loader postcss-preset-env
Enter the command displayed above to install Webpack as a dev dependency. Additionally, it will set up any loaders that are necessary, including the CSS and PostCSS loaders.
Install Tailwind CSS
Enter the following command in the terminal to install Tailwind CSS as a dev dependency.
npm i -D tailwindcss
Create the Webpack config file
Create webpack.config.js in the root directory and add this to it...
const path = require('path')

module.exports = {
  mode: 'development',
  entry: './src/index.js',
  output: {
    path: path.resolve(__dirname, 'dist'),
    filename: 'main.js',
  },
  devServer: {
    static: {
      directory: path.resolve(__dirname, 'dist'),
    },
    port: 3000,
    open: true,
    hot: true,
    compress: true,
    historyApiFallback: true,
  },
  module: {
    rules: [
      {
        test: /\.css$/i,
        include: path.resolve(__dirname, 'src'),
        use: ['style-loader', 'css-loader', 'postcss-loader'],
      },
    ],
  },
}
The files that will be bundled are contained in the entry option, in this case src/index.js, and the file that will contain the bundled code is contained in the output option, in this case main.js. To stop Webpack from setting production as the mode option's default value, the mode option is set to development. Rules for the loaders that were installed alongside Webpack are found in the module option.
Create style.css and add the Tailwind CSS directives
Create style.css in the src folder and add the @tailwind directives for each of Tailwind’s layers.
@tailwind base;
@tailwind components;
@tailwind utilities;
Create the Tailwind config file
Run the following command in the terminal to create tailwind.config.js
npx tailwindcss init
Modify the content option so that tailwind.config.js looks like this...
module.exports = {
  content: [
    './dist/**/*.{html,js}',
    './src/**/*.{html,js}',
  ],
  theme: {
    extend: {},
  },
  variants: {
    extend: {},
  },
  plugins: [],
}
Create the PostCSS config file
Create postcss.config.js in the root directory and add this to it...
const tailwindcss = require('tailwindcss');
module.exports = {
  plugins: [
    'postcss-preset-env',
    tailwindcss
  ],
};
Import the CSS file into index.js
Add this line to your src/index.js so as to import src/style.css.
import './style.css';
Modify the scripts in package.json
Add the following scripts to package.json.
"scripts": {
  "build": "webpack",
  "dev": "webpack serve"
},
Create index.html
Create the dist folder in the root directory, then add index.html to it.
Add the following code which includes a h1 element with tailwind classes to it.
<!DOCTYPE html>
<html lang="en">
<head>
<meta charset="UTF-8" />
<meta http-equiv="X-UA-Compatible" content="IE=edge" />
<meta name="viewport" content="width=device-width, initial-scale=1.0" />
<title>Setup Webpack and Tailwind CSS</title>
</head>
<body>
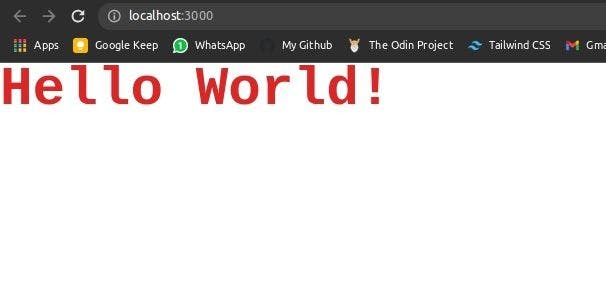
<h1 class="text-6xl font-mono font-semibold text-red-600">Hello World!</h1>
<script src="main.js"></script>
</body>
</html>
Run the app
To build once and create your dist/main.js file, run the following command in the terminal.
npm run build
To run the Webpack server, run the command shown below.
npm run dev
This will enable the website to reload whenever a change is made to the code.
Running the app should bring up the webpage shown below.
Conclusion
Combining the benefits of Webpack with the quick styling and control of Tailwind CSS is a game changer. It is a skill that every web developer should possess in order to build vanilla JavaScript web projects more quickly and efficiently.
Please feel free to ask any questions in the comments section below.
Thank you for reading.🖤